I Always Get Compliments on My Hair: Here's How I Do My Signature Waves

Photo:
Amanda Montell
So here's the tea: I may be a beauty editor, but I suck at hair. French braids? Can't do them. Fishtail braids? Impossible. I can't do updos. I can't do cool vintagey styles. I can't even make a chic chignon work. I only know how to do one thing with my hair and one thing only: flat iron waves.
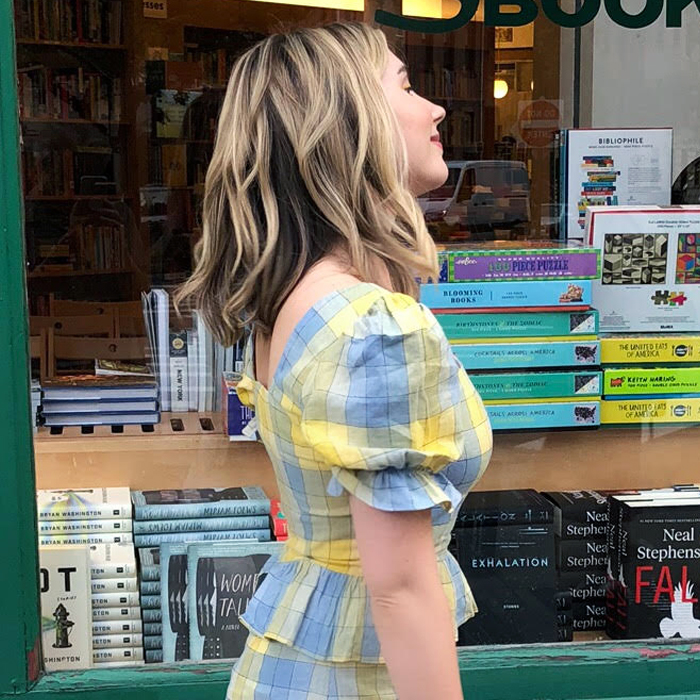
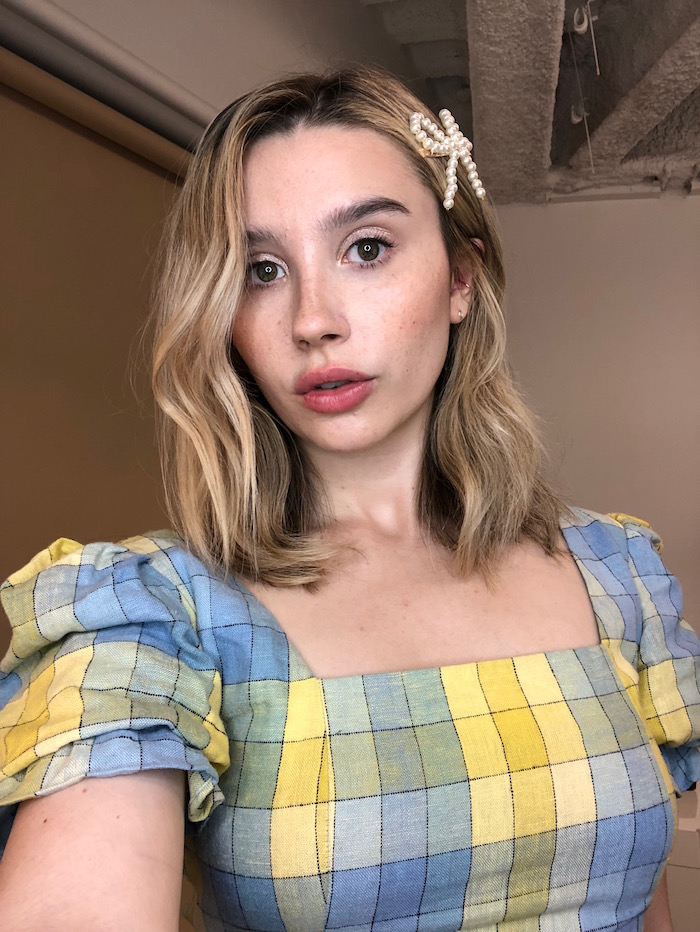
Call it a signature hairstyle, call it the only hairstyle I actually know how to do… However we want to frame it, my relaxed, bendy waves seem to work pretty well for me. They're effortless and versatile; they take very few materials and very little time. Sometimes I add a hair clip or a headband, but that's about as fancy as it gets. And yet, they earn me at least one compliment per day.
Learn this absurdly simple styling technique (which I've nailed down thanks to years of advice from stylists as well as my own personal trial and error), and I hope you'll find it as useful as I have. Keep scrolling for how to create the perfect flat-iron waves in 10 minutes or less!
The materials:
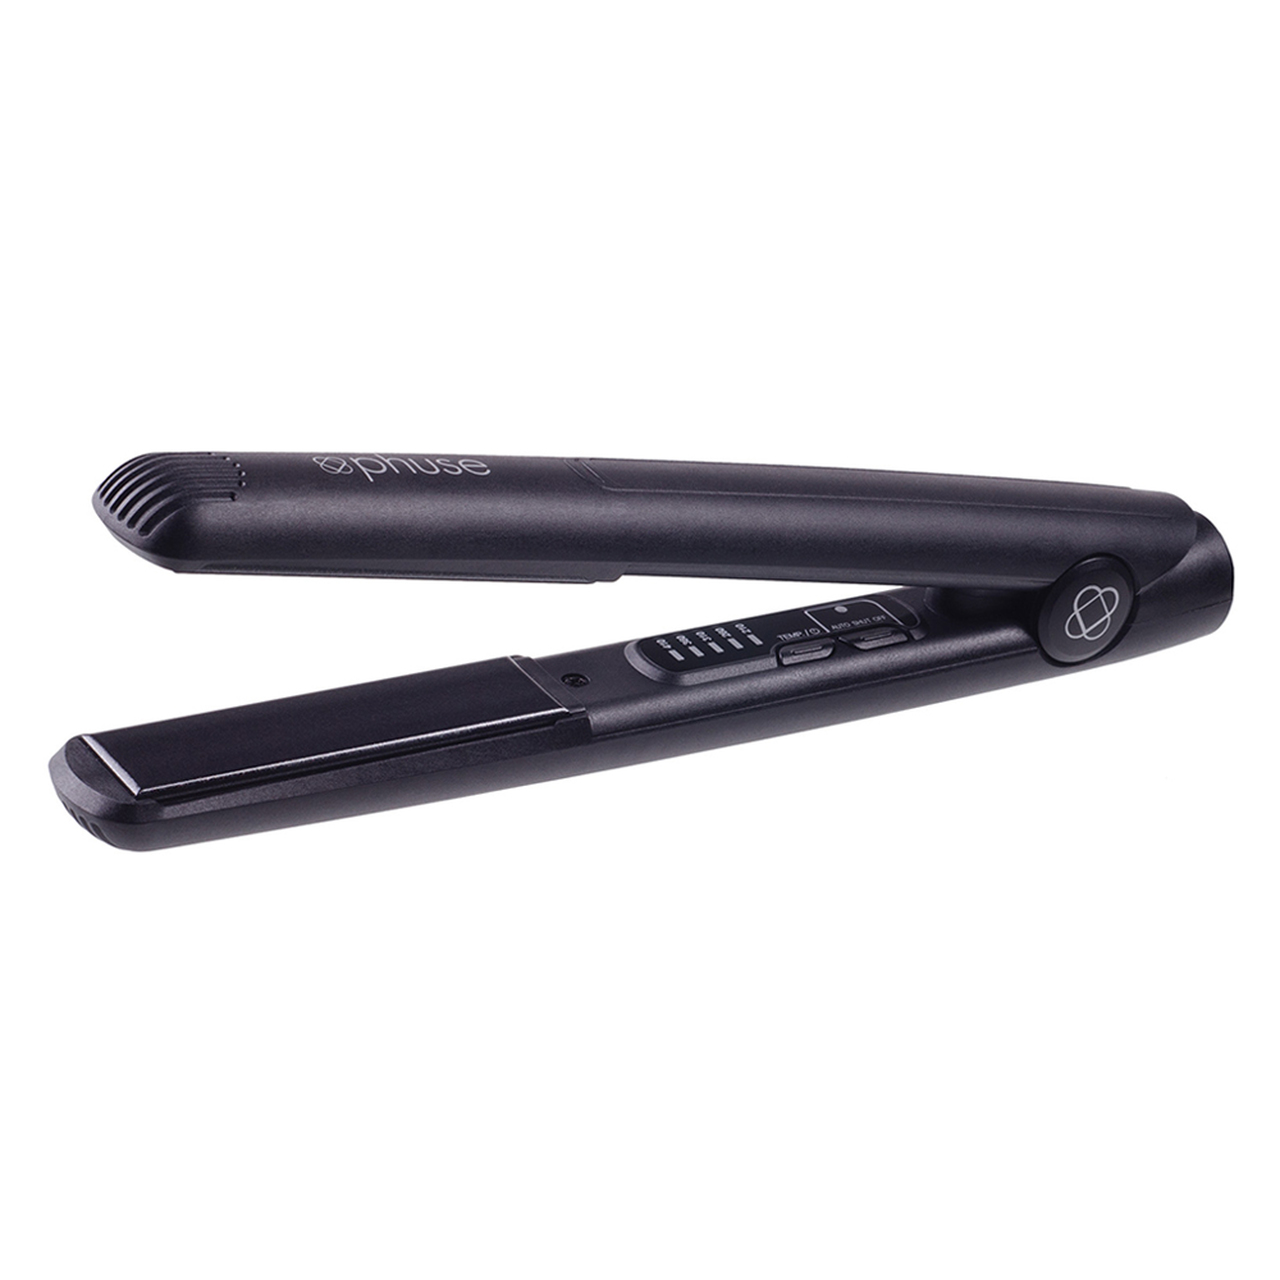
- A 1-inch thick flat iron with adjustable heat settings
- A heat protectant
- A hair tie
- Some texture spray (optional)
- A hair accessory (optional)
The instructions:
This technique will work best on anyone with hair lengths from a chin-length bob to just past the collar bone. (I have naturally straight hair, but I know it works on wavy textures, too.) All you need to do are the following seven steps.
1. Plug in your flat iron and set it to no more than 310 degrees. This is to protect your hair from burning to a crisp.
2. Spritz your hair protectant all throughout your hair.
3. Gather all the hair above your ears into a loose half ponytail on top of your head to get it out of the way for now. Secure it up there temporarily with your hair tie.

Photo:
Amanda Montell
4. When you create waves in your hair, you're going to use two alternating motions. This is what gives the final result a more natural, tousled look. For both motions, you'll take a 1-inch think section of hair and place it between the flat iron plates. The first motion goes in an M-shape: with the inch-thick section of hair between the plates, you'll guide the flat iron in toward your face, then out, then back in at the ends. The other motion is simply to twist the flat iron (with hair between the plates) away from your face and hold it in that twisted position for about five seconds. Make sure to leave the ends out of the flat iron so they stay flat. Also, be sure not to brush the wave out while it's still hot, not even with your fingers, or you'll lose the shape.
When I'm waving this bottom layer of hair below my ears, I'm not super perfectionistic about it, because no one will really to see it when the look is all done. For some strands (like the hard-to-reach ones in the back), all I do is curve the ends inward. This allows you not to heat sections of hair that don't really need it.
5. Once you're finished with the bottom layer of hair, let down the top. Part it where you like. Then repeat step four, with more attention to detail this time, all around your head. For the two strands of hair directly on either side of my face, I choose to use the wave motion that goes away from my face, to create a flattering curtain effect.

Photo:
Amanda Montell
6. For a messier bed head look, spray a dry texturizer throughout your hair. Kristen Ess makes a great one that smells lovely and tousles your hair without leaving it crunchy. I also love Amika's beautifully packaged volumizing formula and Sam McKnight's Cool Girl Barely There Texture Mist, whose name says it all. Then Oribe makes what is, in my opinion, one of the best-smelling texture sprays on the market.
7. Add a whimsical hair clip, elegant headband, or just let your waves flow free. Once you get this routine down pat, it should only take about five or six minutes.
There we have it! The only hairstyle I know how to do. At least it's a good one.

Photo:
Amanda Montell
Next up: See what happened when Kim K.'s hairstylist gave one of our editors a hair makeover.
This article was originally published at an earlier date and has been updated.
- Explore More:
- beauty
- Hair
- hairstyles
- Hair tips
- How To


