How to Get Bella Hadid's Favorite Lived-In Waves by Just Braiding Your Hair
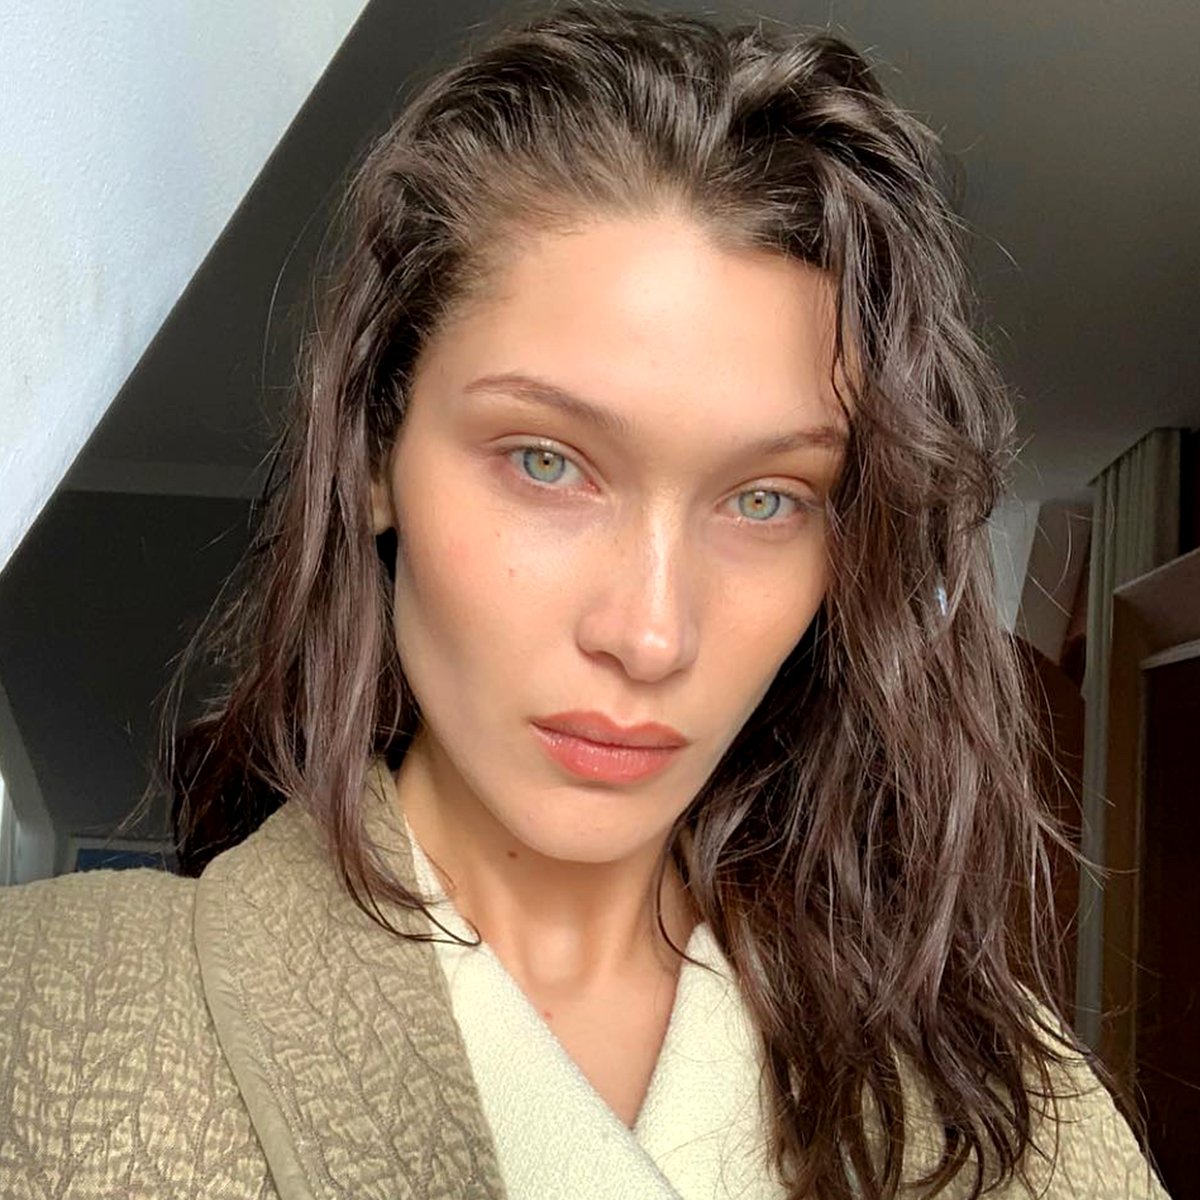
Photo:
@bellahadidWhat do our favorite celebrities like Bella Hadid, Laura Harrier, Jessica Alba, and Emily Ratajkowski all have in common? Jennifer Yepez—aka one of the most sought-after hairstylists in the industry right now who also happens to be the absolute master of waves, braids, and lustrously healthy hair.
Yepez (like quite a few of us) has been spending more time at home recently, and since she hasn't been able to work hands-on with her normal A-list clientele, we asked her to go Live on our Instagram to demonstrate easy, treatment-infused braids and how to transform said braids into a shiny, healthy, lived-in waves.
Forgot to tune in? Fear not. We took detailed notes and plenty of screenshots so you can still get in on some fun, at-home hair exploration. Of course, Yepez shared during the tutorial that she's been doing hair for years (she used to braid her friends' and family members' strands out on her stoop in New York growing up), so it might take a few tries to truly master her technique.
We suggest pouring a glass, turning on your favorite playlist, and digging in. As Yepez points out, even if you can't quite master the braids and they're a little less perfect than you'd like, you'll still get an amazing hair treatment out of the deal, and you'll still be able to get the lived-in waves her famous clients like Bella Hadid and EmRata have made famous. Keep scrolling for everything you need to know.

Photo:
@jennifer_yepezRegardless of your texture (Yepez shares she naturally has super-curly hair), you'll want to prep and protect your strands pre-braids and waves. (You'll be adding heat to your braids to create waves later on, BTW!)
Of course, you can braid your hair with natural curl, but Yepez says she prefers to blowout her strands so that she has a smoother texture to work with while braiding.

According to Yepez, she's used Sebastion Pro's Potion 9 ($14) formula for as long as she can remember. She likes to combine it with a super-hydrating oil—another favorite longtime favorite from Sebastion. Pre-blowout, she'll add about four pumps of each, but you can add less or more depending on your length and texture. No comb? You can also use your fingers.


After adding her treatments, Yepez reaches for Dyson's cult-loved hairdryer (her favorite) and shares that she prefers to use T3's large round brush to execute her professional-level blowout at home and whenever she works with her celebrity clients.


Photo:
@jennifer_yepezFirst things first, start with a clean part. Yepez says you can do either a side-part or a middle-part, but during her Instagram Live tutorial, she opted for a middle. To create a sleek and straight line from your hairline all the way back to the nape of your neck, she recommends using a tail comb, drawing it straight back without releasing it.


Photo:
@jennifer_yepezUsing the same comb, Yepez says she likes to start the braiding process by sectioning off one side of her hair and grabbing a small piece that would be right in line with the center-point of your eyebrow. Then, separate that small chunk of hair into three different sections, starting the braid closest to your hairline.

Photo:
@jennifer_yepezBegin braiding, taking small, additional sections of the hair from each side as you work your way back, just like you would with a normal French braid. As you get further back, make sure you're keeping the braid closer to the side of your head (right along the ear) versus behind and close to the part.

Photo:
@jennifer_yepezOnce you make your way to the ends, secure the braid with a small elastic. Yepez swears by these affordable clear ones from Goody. If you want your hair to look thicker or more relaxed, feel free to tug, pull, and play with the braid a bit after you've secured it. Then, repeat on the other side.

To finish everything off (and to keep your hair super soft), spray a lightweight hair spray all over your braids. Yepez likes the below option from Sebastion because it brushes out effortlessly and leaves you with a smooth, soft finish.


Photo:
@jennifer_yepezSo you want to transform your hair treatment-infused braids into another hairstyle? Simply take a high-quality hair straightener (Yepez is obsessed with the brand-new Dyson Corrale to keep her and her clients' strands super healthy) and simply work the straightener in sections down the length of each braid.

Photo:
@jennifer_yepezMake sure you tug the braid away from your head when you're working on the top parts.

Photo:
@jennifer_yepez

Photo:
@jennifer_yepez"I love sexy, wavy hair," shares Yepez.

Photo:
@jennifer_yepezSince some parts of the hair might be more waved than others, Yepez likes to go back in with her hair straightener to create "S" waves. Simply take any sections of hair that are more straight, shape them into an S, and then crimp your straightener on top to lock in the "S" shape. Do this all over your head until you're satisfied with the consistency of your waves.

Photo:
@jennifer_yepez
Photo:
@jennifer_yepezSince Yepez loves lots of texture and curl, she recommends taking a cream like Sebastian's Microweb Fiber (about a quarter-sized pump) and scrunching it into the hair all over.
"It gives you volume and that lush, tousled hair that I love. This product especially is great because you really can't tell that you used any product," she says. And that's it! You're left with pretty, lived-in waves that are the perfect antidote for third- or fourth-day hair.


Next: 25 Hairstyles That Look Ridiculously Chic Paired With Wispy Bangs
This post was previously published and has since been updated.