How to Iron on Patches In 4 Steps

Photo:

@caroduar

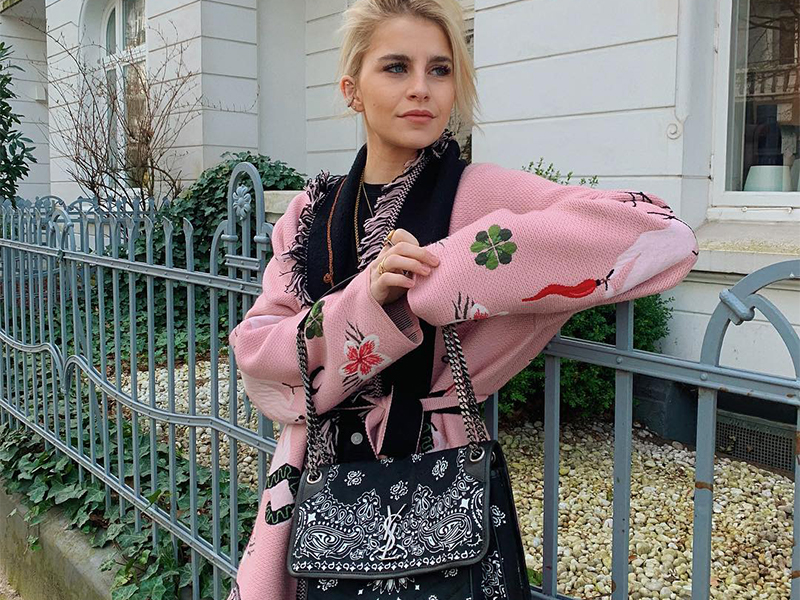
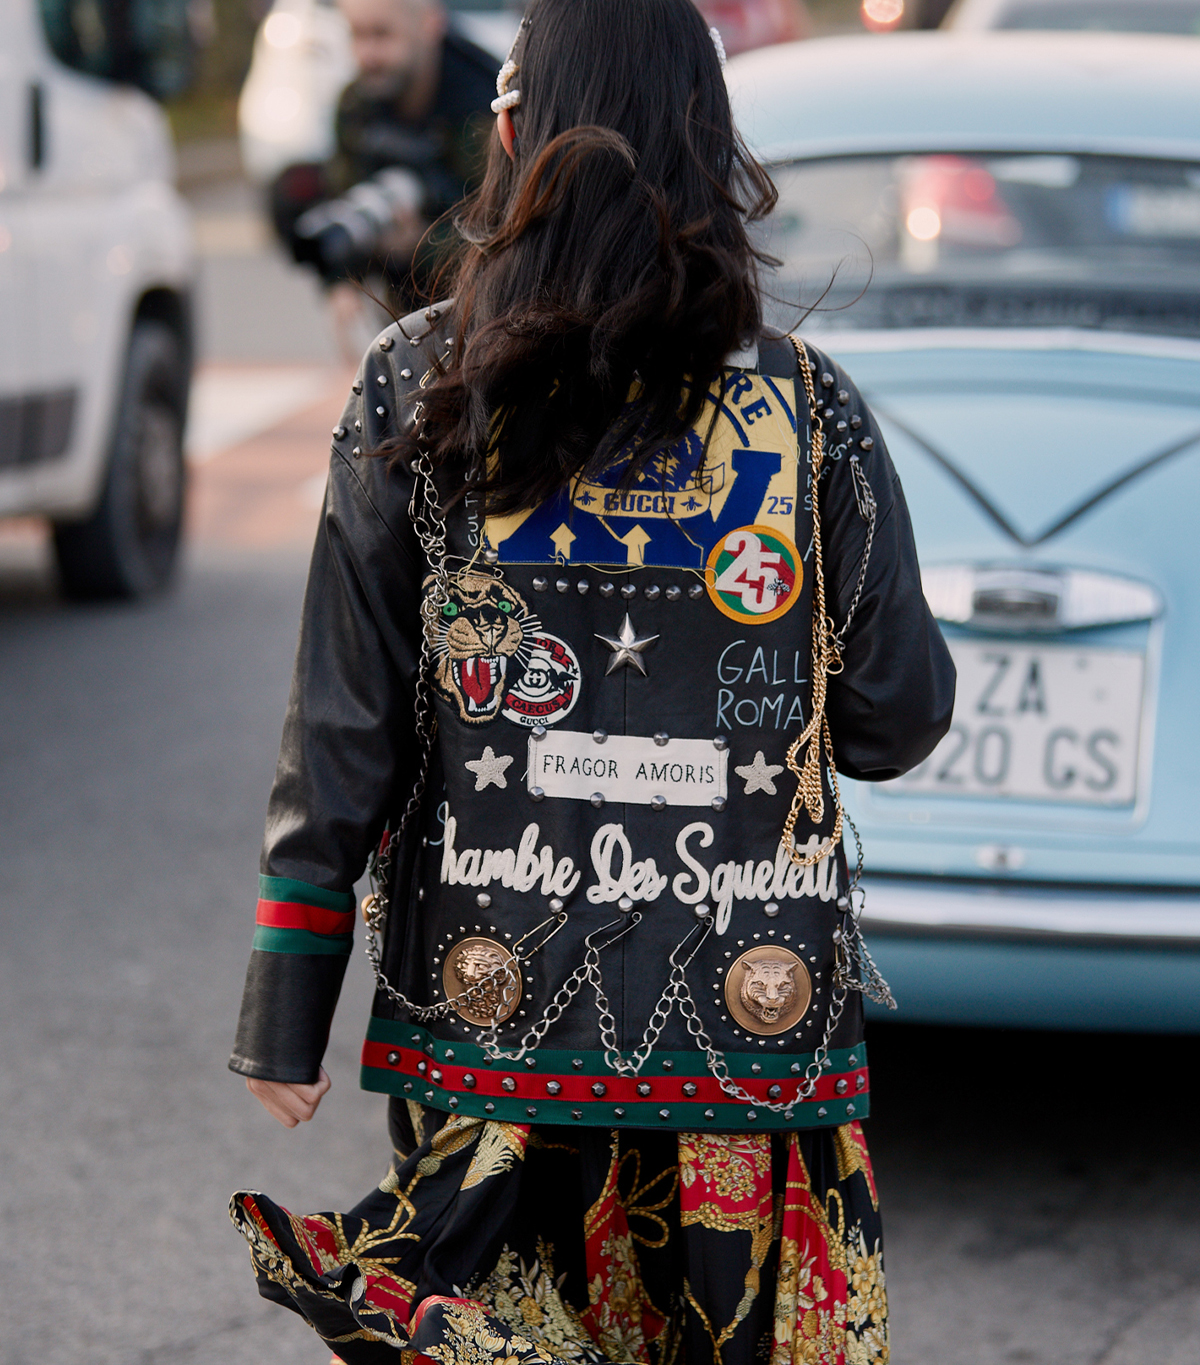
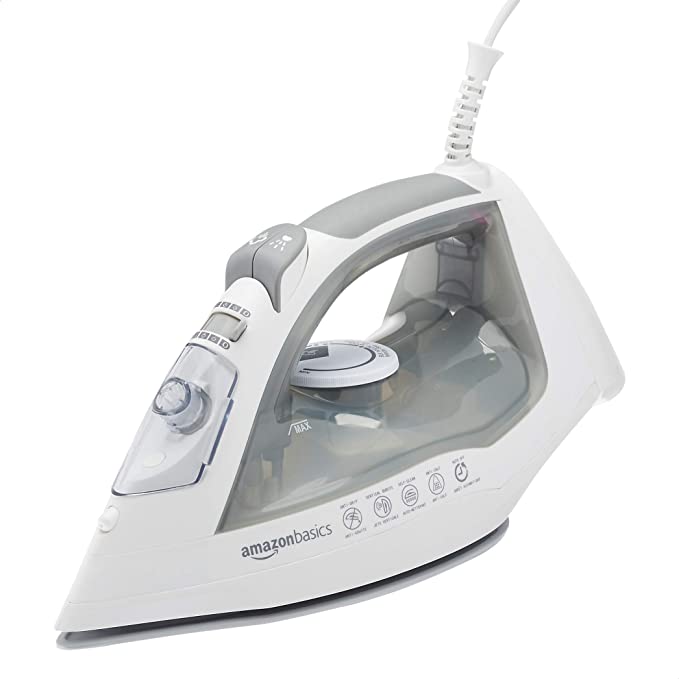
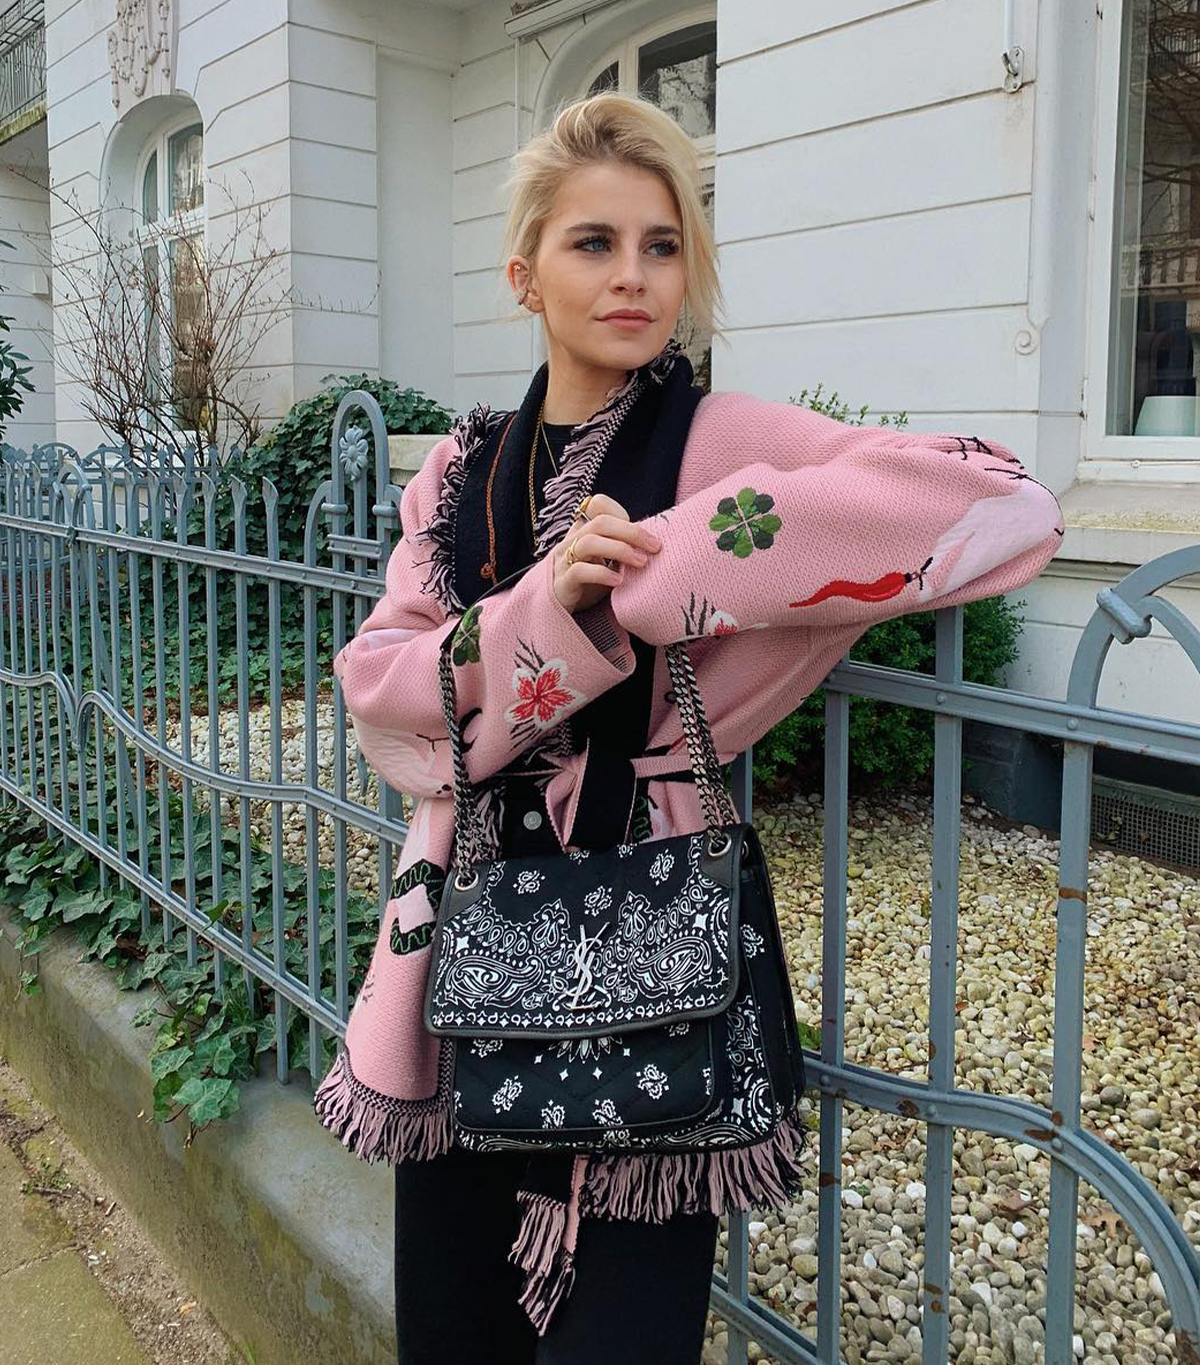
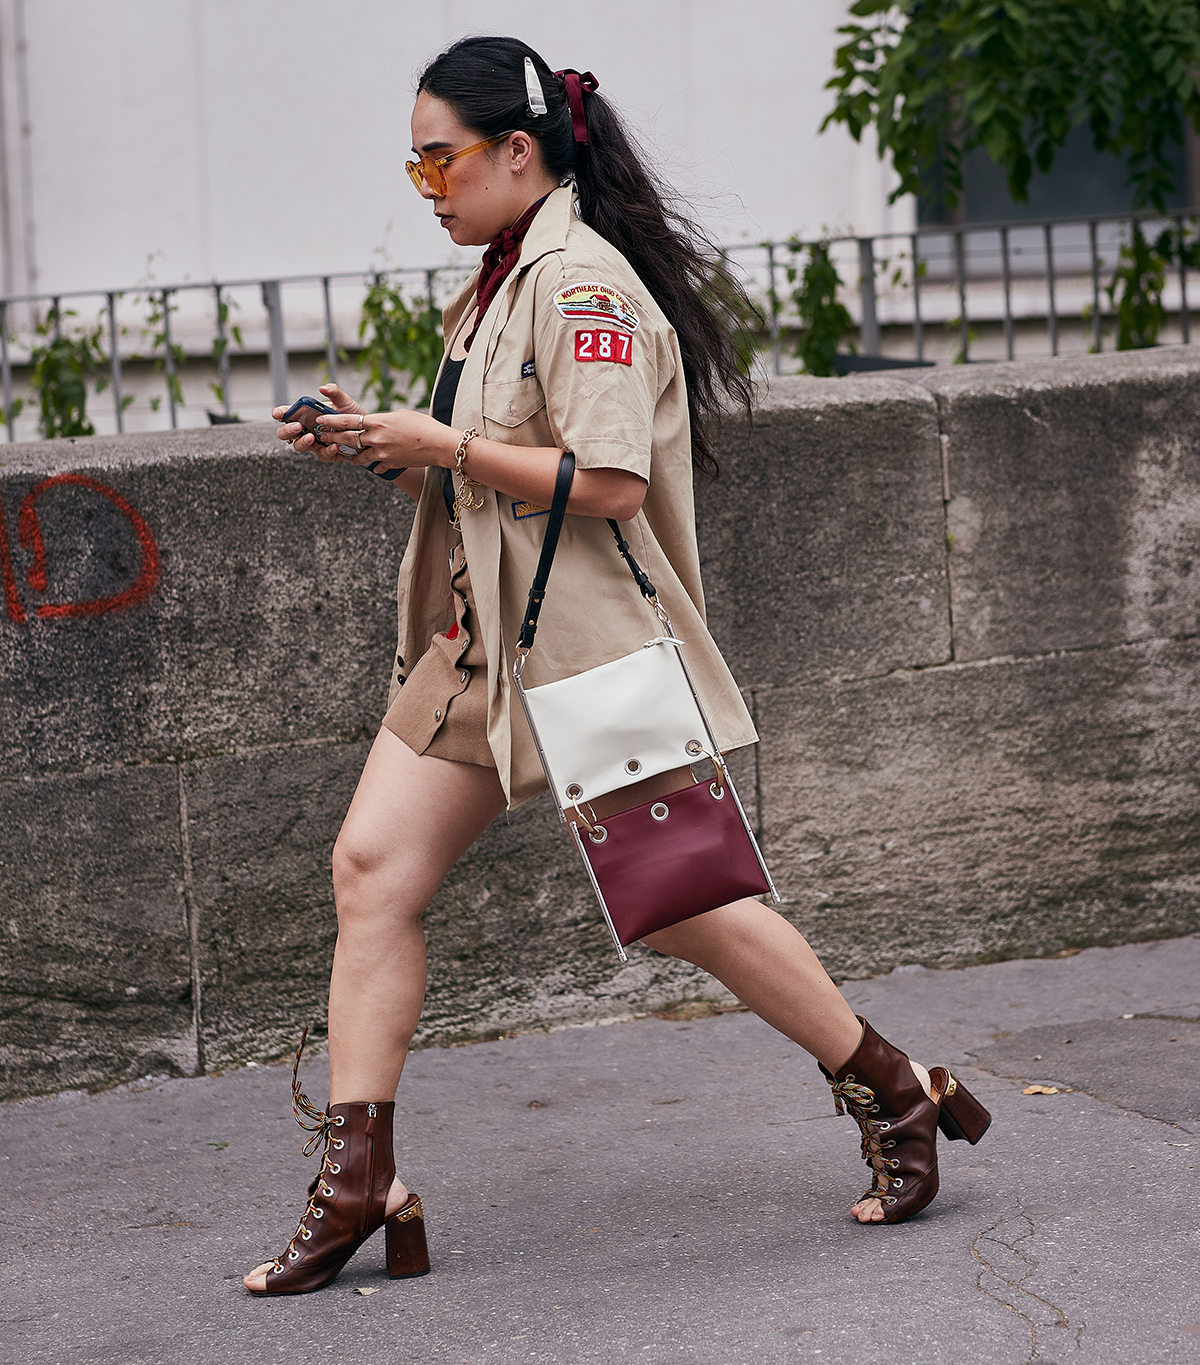
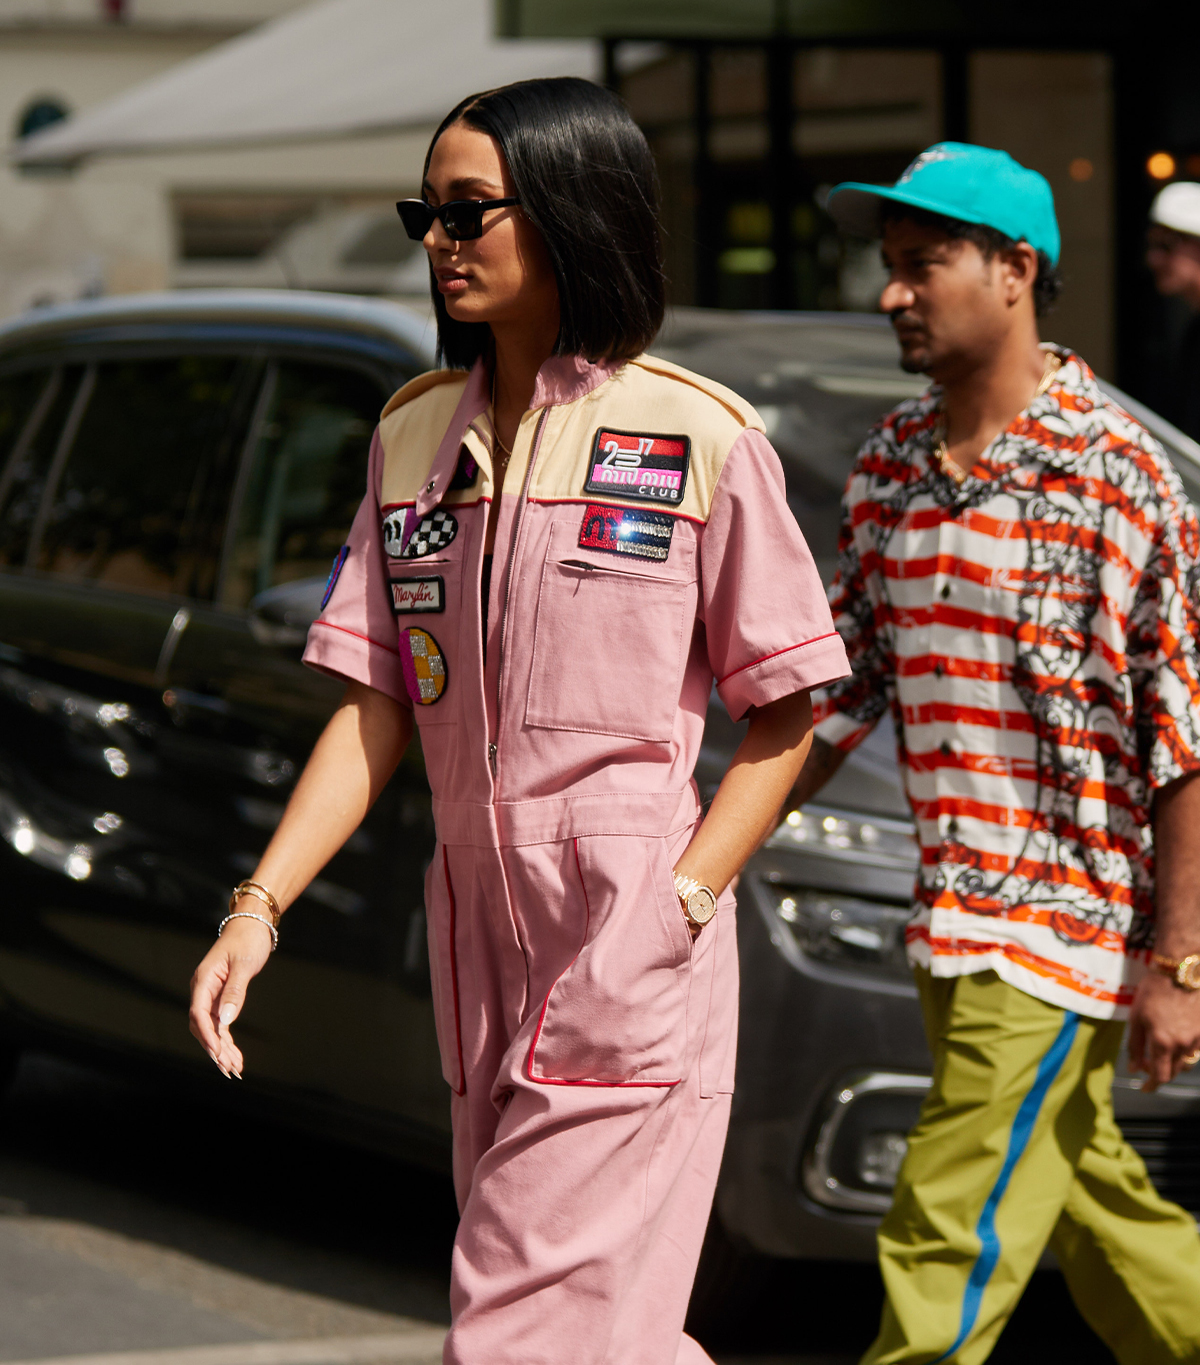
Whether your aesthetics lean toward military chic, crossover vintage, or just about anything in between, patch-decorated clothing is back. This retro trend has been spotted on It girls and has dominated the trend cycle for the last few seasons. Of course, knowing how to iron on patches yourself can save you from the price tag of high-end designs while offering the satisfaction of creating something truly unique. To get started, grab your favorite jacket, jeans, or handbag and follow these four simple tips on how to iron on patches. This DIY project is one you should try at home. 

1. Prep the Iron

How to iron on patches

Photo:

Szymon Brzoska / The Style Stalker

To properly affix a patch, be sure to turn up your iron to the highest heat setting. Before you get started, make sure your fabric is a match. Iron-on patches work best with materials like cotton and polyester but can seriously damage fabrics like nylon, rayon, or rain-jacket material.

You’ll need a great iron to get the job done. 

2. Position the Patch

How to iron on patches

Photo:

@carodaur

It’s important to choose the perfect position for your patch. Skipping this step can result in your hard work going to waste. If you’re centering the patch, use a measuring tape to ensure it’s in the right spot. For sleeves and lapels, consider pinning the patch in place and checking yourself in the mirror to be sure the patch is upright and in a position you like.

This will come in handy for future DIY projects. 

Every fashion lover needs a good sewing kit on hand. 

3. Use a Pressing Cloth

How to iron on patches

Photo:

Szymon Brzoska / The Style Stalker

To protect both the fabric’s surface and the patch, place a pressing cloth (you can also use a cotton pillowcase or handkerchief) between the patch and the iron. Press the iron downward and hold it in place for 30 to 45 seconds. Be careful not to move the iron around since this can inadvertently shift the position of the patch.

This will make your DIY project so much easier. 

Imagine this with patches. Cute, right? 

4. Flip and Repeat

How to iron on patches

Photo:

Szymon Brzoska / The Style Stalker

Once the patch is affixed to the fabric, turn the item of clothing inside out and lay it flat on your ironing board. Position the pressing cloth over the reverse side of the patch and repeat step three. Once the patch is securely attached to the garment, allow it to cool completely before wearing.

Add patches to this, and you’ve got a one-of-a-kind button-down. 

Re-create the look at home: 

Imagine these overalls covered in patches. 

Patches are the perfect way to mend jeans with holes. 

This patch gives meaning to the term wearable art. 

Imagine this button-down with patches.

Is this not the coolest patch you’ve ever seen?

Take any basic hoodie to the next level by adding patches. 

It’s not a pair of Manolos, but it’s still pretty cute. 

This would look cute with extra patches. 

This story was published at an earlier date and has been recently updated

Next: 5 Timeless Accessories You Shouldn't Purge From Your Closet